
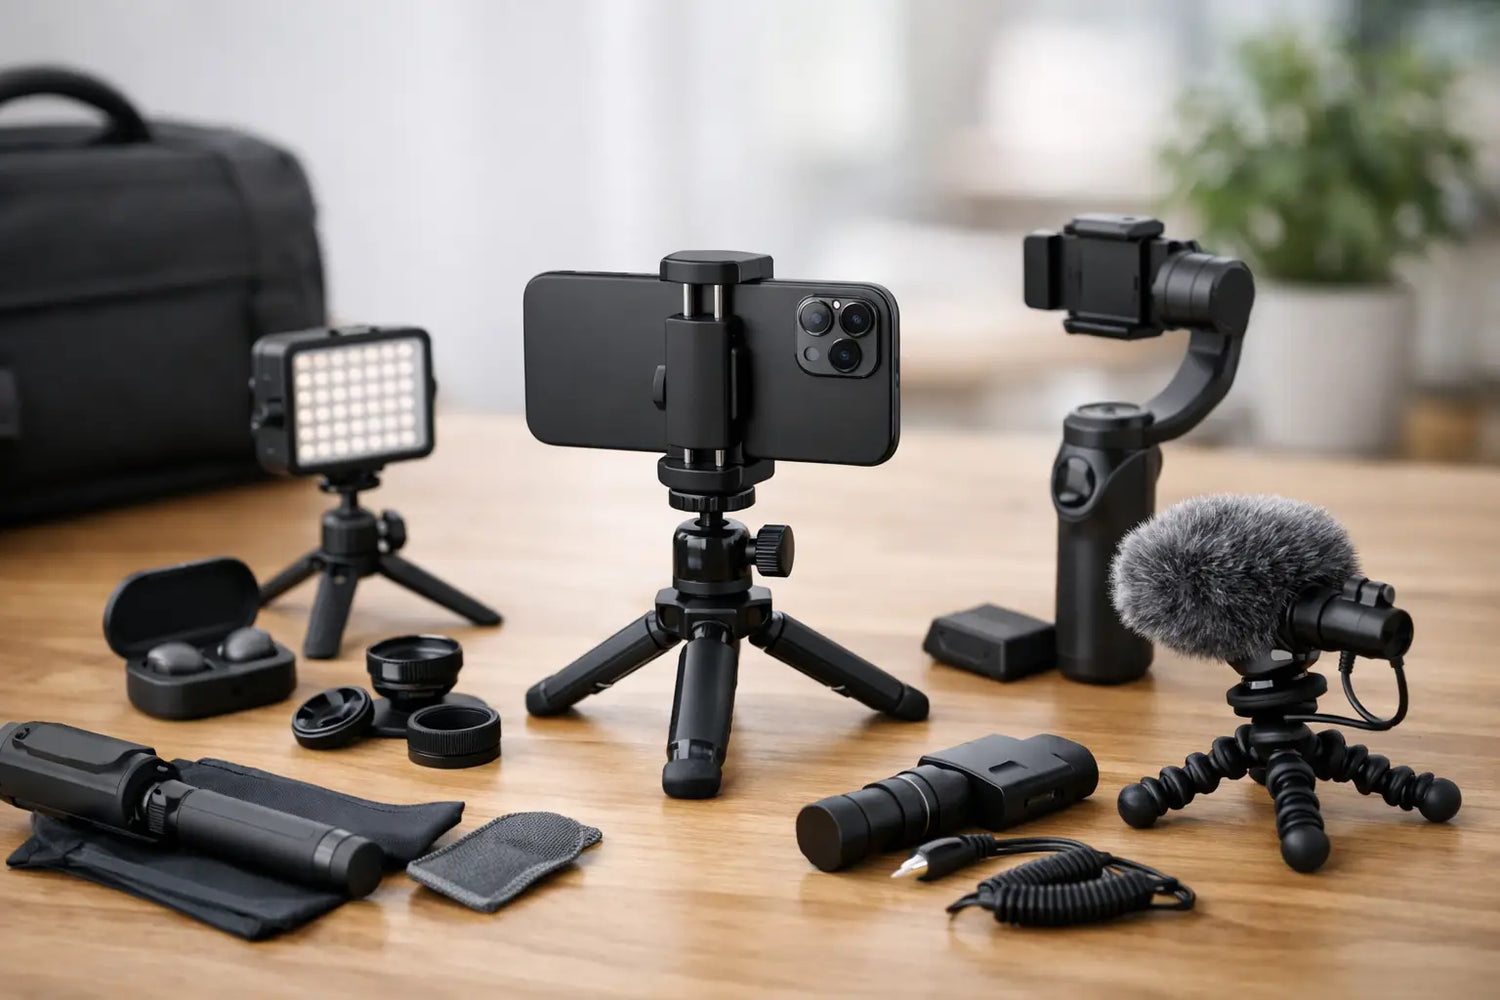
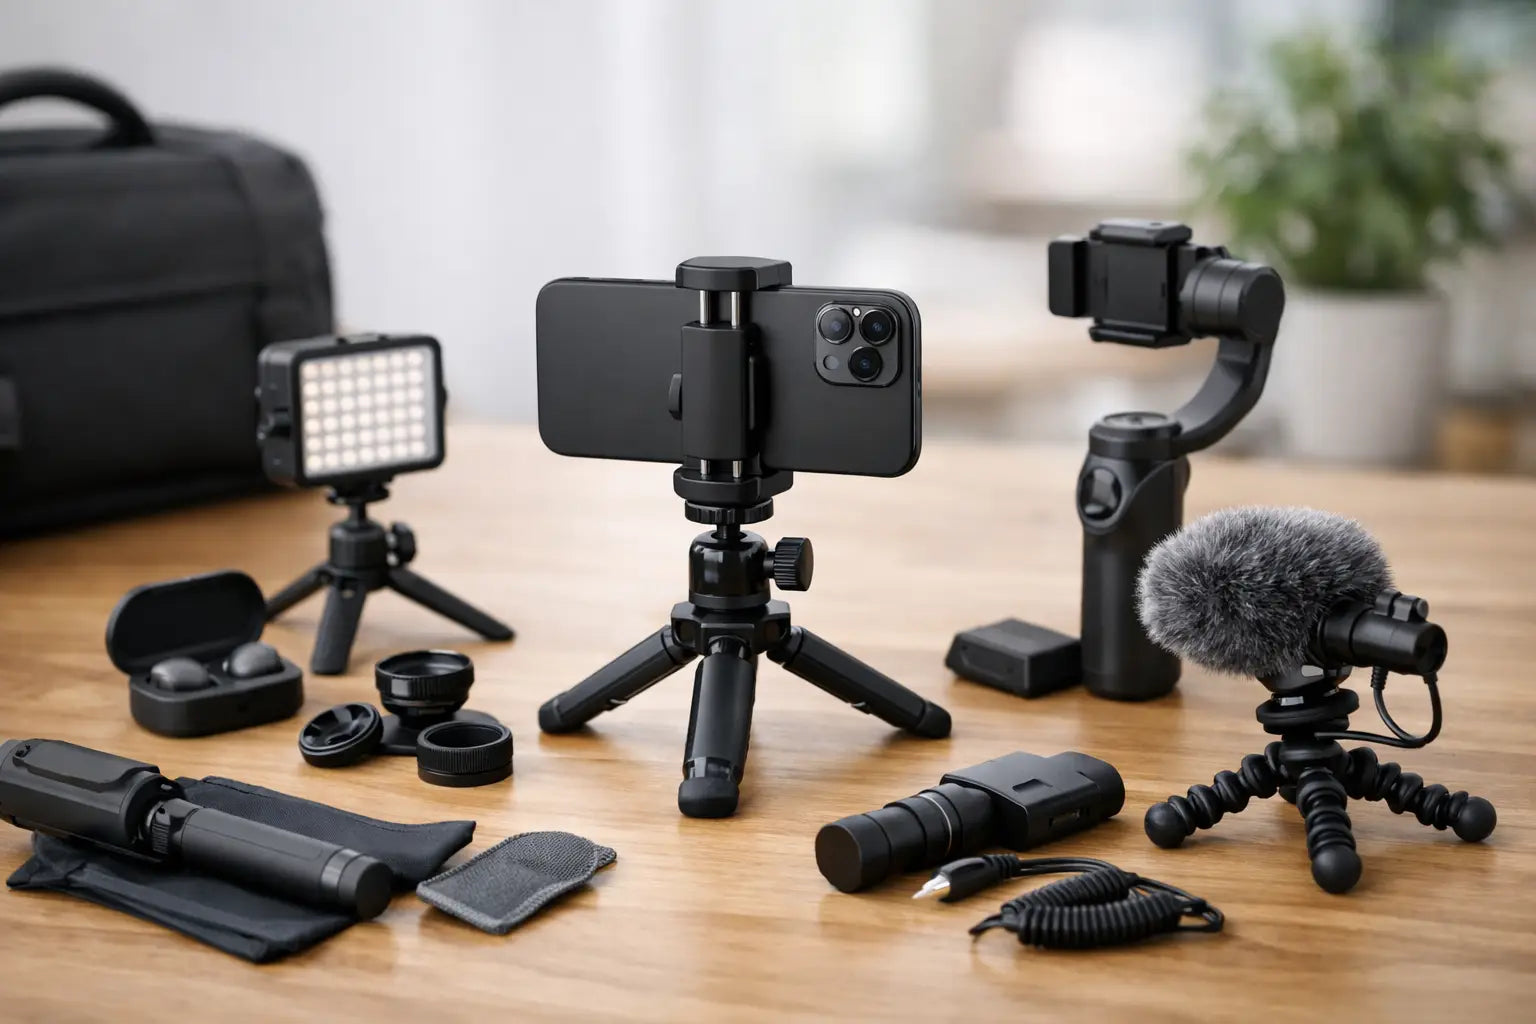
Your phone already has a surprisingly capable camera in its pocket-sized toolkit. The right add-ons can turn a quick mirror selfie, workout clip, product shot, or sunset into something that looks planned instead of accidental. This guide to phone photography gear focuses on upgrades that make a visible difference without filling a drawer with gadgets you use once and forget.
The goal is not to make your phone act exactly like a professional camera. It is to make shooting easier, steadier, brighter, and more fun. Start with the gear that solves the problem you actually have, whether that is shaky video, dark rooms, flat-looking photos, or audio that sounds like it was recorded inside a backpack.
Start With the Gear That Changes Every Shot
Before shopping for specialty lenses or a full creator setup, cover the basics. A protective case with a secure grip, a reliable charging cable or power bank, and a microfiber cloth are not glamorous, but they save shoots constantly. Fingerprints and pocket dust can make even a great phone camera look soft and hazy. Wipe the lens before every session. Yes, every session. Your future self will thank you.
A solid phone mount is the first real upgrade worth making. Look for a mount with padded grips, adjustable width, and a standard screw thread on the bottom. That thread lets you connect it to tripods, selfie sticks, ring lights, and other mounts instead of buying a separate holder for each one.
If you shoot outdoors, a compact power bank is equally useful. Video, screen brightness, stabilization, and wireless accessories drain battery fast. There is nothing cinematic about your phone hitting 2% just as the good lighting arrives.
A Guide to Phone Photography Gear for Better Light
Lighting makes a bigger difference than a fancy filter ever will. Phone cameras do well in bright, even light and struggle when scenes are dim, mixed, or high contrast. Give your camera more light, and it has less work to do.
Ring lights for faces, calls, and close-ups
A ring light is a simple choice for selfies, beauty content, video calls, tutorials, and product close-ups. It gives your face a clean, even glow and creates a catchlight in the eyes that makes portraits feel more polished. Choose a model with adjustable brightness and color temperature so you can move from warm bedroom lighting to cooler daylight-style lighting without looking washed out.
Ring lights are not magic, though. Their front-facing light can flatten facial features or make shiny products look overly reflective. Move the light slightly above eye level and off-center when you want more shape and dimension.
LED panels for more flexible setups
Small LED panels are the better choice when you want mood, control, or wider coverage. Use one as a key light for videos, place it beside a product to bring out texture, or add colored light behind your subject for a gaming setup, anime display, or room makeover clip. Adjustable RGB panels are especially fun because one compact light can shift a boring wall into a whole vibe.
For a budget setup, one LED panel and a window can go a long way. Put the window light on one side of your face or subject, then use the LED at lower brightness on the opposite side to soften harsh shadows. You do not need a studio. You need light that looks intentional.
Clip-on lights for fast, portable shooting
Clip-on selfie lights are convenient for travel, events, and quick social posts. They are not ideal for professional-looking video, but they are easy to toss in a bag and can rescue a dark restaurant photo or late-night group shot. Think of them as emergency glow, not your main production light.
Keep It Steady With a Tripod or Gimbal
Blurry photos are often caused by movement, not a bad camera. A tripod fixes that for photos, time-lapses, hands-free videos, and group shots where everyone actually gets to be in the frame.
A mini tripod works well on desks, tables, and low angles. A taller tripod is better for full-body content, home workouts, cooking videos, and room shots. If you plan to film standing up, check the maximum height before buying. A tripod that stops at chest level may be fine for a tabletop tutorial but frustrating for fitness content.
For smoother moving video, consider a smartphone gimbal. It uses motors to stabilize the phone as you walk, pan, or follow a subject. A gimbal can make a simple walk-through, travel clip, or action shot feel much more cinematic. The trade-off is setup time. It needs charging, balancing, and a little practice, so it is best for people who regularly shoot video rather than occasional snapshots.
If you only buy one stabilization tool, choose a tripod first. It is less flashy, more affordable, and useful in far more situations.
Add Lenses Only When They Solve a Specific Problem
Clip-on phone lenses can be great, but they are also easy to overbuy. Your phone may already have wide, ultra-wide, and telephoto camera options built in. Check what your phone can do before adding external glass.
A macro lens is one of the most exciting options because it reveals tiny details your regular camera cannot capture well. Think jewelry, flowers, textures, collectibles, nails, food, or the satisfying close-up details of a new gadget. It requires patience, though. Macro shooting needs steady hands, close focusing, and plenty of light.
A telephoto lens can help you get closer to a subject without walking into the scene, while a wide-angle lens is useful for room setups, architecture, group photos, and travel views. Cheap lenses can cause soft corners, glare, color shifts, and dark vignettes around the image. If the image looks worse with the lens attached, your phone is not the problem.
Skip novelty lenses unless you genuinely love the effect. A fisheye can be fun for skate clips or playful pet videos, but it is not an everyday essential.
Do Not Let Bad Audio Ruin Good Video
People will forgive a slightly imperfect image faster than hard-to-hear sound. If you record talking videos, reviews, tutorials, workout instruction, or voiceovers, a microphone is worth adding early.
A wired lavalier microphone is an easy, affordable starting point. Clip it near your collar and keep it away from hair, necklaces, and loose fabric that can scrape against the mic. A wireless microphone gives you more freedom to move, which is especially helpful for workout videos, demonstrations, and outdoor clips.
For desk-based content, a small directional microphone can reduce some room noise and focus more on the person speaking. It will not eliminate every sound around you, so choose your location wisely. Turn off fans when possible, close windows, and avoid recording next to a running dishwasher. Glamorous creator life, right?
Always test your audio before filming the full take. Record ten seconds, play it back through headphones, and check for buzzing, clipping, or wind noise. That tiny habit prevents a lot of painful re-recording.
Helpful Extras That Earn Their Space
Once you have light, stability, and sound handled, a few accessories can make shooting more convenient. These are not must-haves for everyone, but they can be smart upgrades depending on your style.
- A Bluetooth remote lets you take group photos and self-portraits without awkwardly reaching for the shutter button.
- A portable reflector bounces window light onto a face or product and folds down small for storage.
- A phone cage adds mounting points for lights, microphones, handles, and external lenses when you want a more serious video rig.
- A waterproof pouch or case helps protect your phone around pools, beaches, rain, and messy outdoor adventures.
- A storage drive or cloud backup plan keeps your camera roll from becoming a digital junk drawer full of 47 versions of the same photo.
Build a Setup Around What You Shoot
For selfies, video calls, and makeup or fashion content, start with a ring light, phone mount, and Bluetooth remote. For product photos, small LED panels, a tripod, and a clean background will usually deliver more impact than external lenses. For travel and everyday adventures, a compact tripod, power bank, waterproof protection, and a small LED light are easy to pack.
If your goal is video, prioritize a tripod or gimbal, an adjustable light, and a microphone. Those three upgrades tackle the most obvious quality problems: shake, darkness, and unclear sound. Timo Market shoppers building a fun, affordable creator kit can mix practical phone accessories with ambient lighting to make a setup that looks good on camera and in real life.
Do not rush to buy everything at once. Use one new piece of gear for a week, notice what still gets in your way, then make the next upgrade. The best phone photography setup is not the biggest one. It is the one you will actually grab when the moment is happening.

Commenta
Questo sito è protetto da hCaptcha e applica le Norme sulla privacy e i Termini di servizio di hCaptcha.