
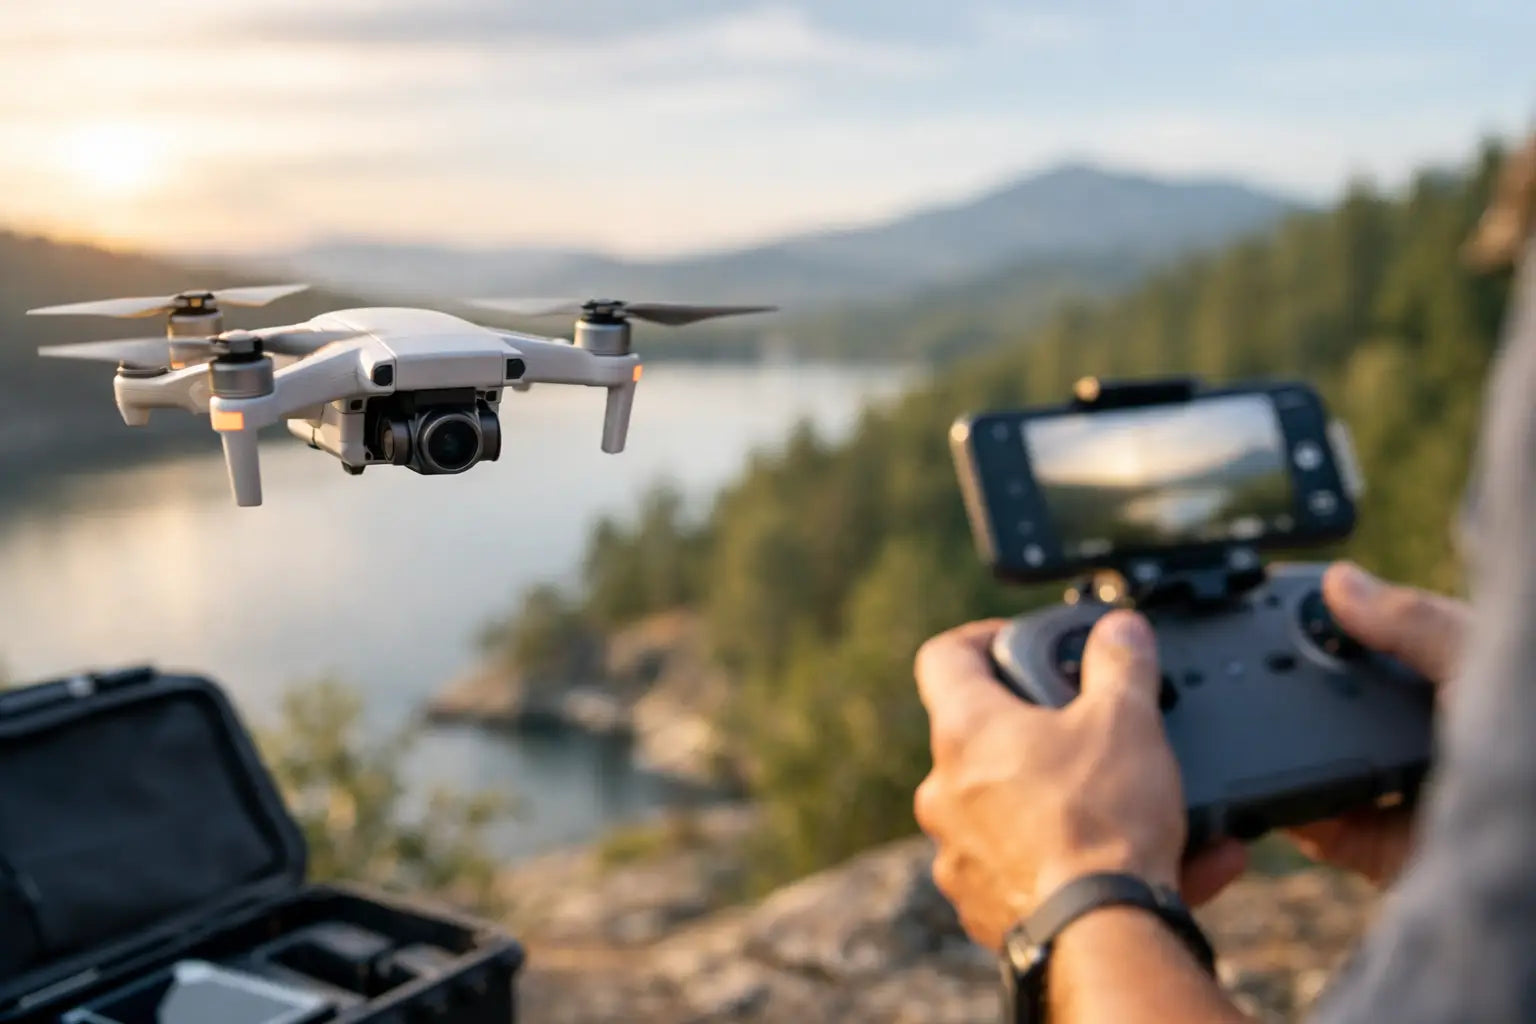
Your first drone flight usually teaches the same lesson fast - the view is incredible, but the footage does not always look as good as it felt in the moment. The good news is that a solid drone camera basics guide can fix that quickly. You do not need film-school skills or a giant production budget. You just need to understand what the camera sees, how the drone moves, and which settings actually matter.
Most beginners think better drone footage comes from flying farther, higher, or faster. Usually, it is the opposite. The shots that feel polished are controlled, intentional, and easy on the eyes. A small change in altitude, speed, or camera angle can turn random aerial video into something people actually want to watch twice.
What a drone camera actually does differently
A drone camera is not just a regular camera with propellers attached nearby. It works in a moving environment where wind, battery life, signal strength, and stabilization all affect the final image. That means your camera settings and your flying style are connected.
Most consumer drones use small sensors, wide-angle lenses, and built-in stabilization through a gimbal. That setup is great for travel clips, social posts, real estate views, and casual cinematic footage. But it also comes with trade-offs. Small sensors can struggle in low light, wide lenses can make distant subjects look smaller than expected, and automatic settings can shift exposure mid-shot in ways that look distracting.
This is why beginner footage often feels a little off even when the location is amazing. The drone sees plenty, but it does not automatically know what you want the viewer to notice.
Drone camera basics guide: the settings worth learning first
If you only learn a few settings, make them these. They affect your footage more than all the fancy buzzwords on the product page.
Resolution and frame rate
Resolution is how detailed your video is. Higher resolution gives you more room to crop and edit, but it also creates larger files. For most people, 4K is a smart starting point if your drone supports it. It gives you flexibility without needing Hollywood ambitions.
Frame rate affects how motion looks. If you want a natural cinematic feel, 24 or 30 frames per second usually works best. If you plan to slow footage down later, 60 frames per second is more useful. The catch is that higher frame rates can look a bit less film-like for normal playback. So it depends on whether you want realism, drama, or slow-motion flexibility.
ISO, shutter speed, and exposure
ISO controls how sensitive the camera is to light. Lower ISO usually means cleaner footage with less noise. On drones, that matters a lot because image noise gets ugly fast, especially in shadows.
Shutter speed affects brightness and motion blur. Many beginners leave it on auto, and sometimes that is fine for casual flying. But if you want smooth-looking movement, shutter speed matters. Extremely fast shutter speeds can make motion look choppy and harsh. That is one reason many drone users eventually add ND filters when shooting in bright daylight.
Exposure is the overall brightness of your image. If the sky looks perfect but the ground is too dark, or vice versa, your shot may need compensation or a different camera angle. Bright scenes with water, snow, or reflective roofs can fool automatic exposure, so check your screen before committing to a long shot.
White balance and color
White balance controls how warm or cool your footage looks. Auto white balance can shift during flight, especially if you move from sun to shade. That can create weird color changes in one continuous clip.
Locking white balance gives more consistent footage. If you are shooting on a sunny day, pick a setting that matches those conditions and keep it there. Your footage will feel more intentional right away.
Color profiles can also matter. Some drones offer flatter profiles for editing, while others use a standard profile that looks finished right out of the camera. If you do not plan to color-grade your footage, stick with the standard option. A flat profile sounds pro, but it only helps if you know what to do with it later.
Composition matters more than fancy specs
People love talking about megapixels and transmission range. Fair enough. But viewers notice composition first.
A strong drone shot usually has a clear subject. That might be a coastline, a road cutting through trees, a house on a hill, or a person standing in an open landscape. Without a subject, even high-resolution footage can feel like random floating.
Try to use leading lines such as roads, shorelines, bridges, or rows of trees. These naturally pull the viewer through the frame. Symmetry also works especially well from above. Parking lots, fields, rooftops, and city blocks can all look surprisingly striking when centered cleanly.
Height changes the story too. Very high shots show scale, but lower shots often feel more dramatic because they create depth. Flying lower over a path or field can make footage look faster and more immersive without actually increasing speed.
Movement is where good footage becomes great
The biggest beginner mistake is aggressive stick input. Quick turns, sudden climbs, and stop-start movement make footage feel nervous. A drone shot should usually feel calm, even when the scene itself is exciting.
Smooth movement comes from planning one motion at a time. Fly forward slowly. Rise gently while keeping the camera tilted down. Orbit around a subject without changing speed halfway through. These simple moves often look better than complicated ones.
Combining movements can create more cinematic results, but only if you stay in control. For example, moving backward while slowly ascending can reveal a landscape beautifully. Panning the camera while drifting sideways can add depth. The trick is not doing more. The trick is doing less, better.
If your drone has a cinematic or tripod mode, use it. That slower response is not boring. It is your anti-chaos button.
Light can save a basic shot or ruin a great location
Midday light is bright, but it is not always flattering. Harsh overhead sunlight can flatten details, create blown-out highlights, and make scenes look less dramatic than they felt in person.
Early morning and late afternoon usually give you softer light, longer shadows, and richer color. That is why golden hour keeps winning. It makes textures pop and helps landscapes feel more dimensional.
Cloudy days are not bad either. They can reduce harsh contrast and make exposure easier to manage. The footage may feel less punchy, but it can look clean and balanced. If you are still learning camera settings, overcast conditions can actually be a very forgiving place to practice.
A practical drone camera basics guide for better results fast
If you want your next flight to look noticeably better, keep your setup simple. Pick one subject, one movement, and one light condition that works in your favor. That alone beats trying to capture everything at once.
Before takeoff, clean the lens, check your battery, confirm your storage space, and set your resolution and frame rate. Then look at the scene and ask one useful question: what is the shot actually about? If you cannot answer that, the camera probably cannot either.
Once you are in the air, record a few versions of the same moment. Go high, then lower. Try the shot moving forward, then backward. Tilt the camera differently. Small variations give you options later, and editing gets way easier when you are not stuck with one rushed attempt.
Also, do not record endless clips hoping something magical happens. Short, intentional takes are easier to review and more likely to be usable. Your future self scrolling through footage at midnight will be grateful.
Common mistakes beginners make
New drone users often rely too heavily on auto mode, fly too quickly, and shoot at the wrong time of day. Another common issue is forgetting the horizon. If it is crooked, even a beautiful scene can feel amateur fast.
Many beginners also pan too much. Wide drone shots already contain a lot of visual information. Constant turning makes it harder for viewers to focus. Hold a composition longer than feels necessary. It often looks better on playback than it did while you were flying.
And then there is low-light flying. Yes, city lights can look amazing. No, most beginner drone cameras do not love the dark. If your footage gets noisy or blurry after sunset, that is normal. Better settings can help, but small sensors still have limits.
Choosing the right expectations
A budget-friendly drone can still produce impressive footage if you work within its strengths. Good light, stable movement, and smart framing beat expensive gear used carelessly. That is why so many first-time pilots are surprised by how much better their footage looks after learning a few basics.
If you are shopping for your first drone, focus on camera stabilization, usable resolution, battery life, and ease of control before obsessing over advanced features. Fancy extras are fun, but a drone that is simple to fly well is usually the better buy. That is the kind of practical upgrade shoppers at Timo Market tend to appreciate - something exciting that also makes life easier right away.
The best part is that improvement shows up fast. One weekend of focused practice can completely change how your footage looks. Start simple, fly smoothly, and let the camera work with you instead of against you. Your best aerial shot is probably not far away - just a little slower, steadier, and smarter than the last one.

Commenta
Questo sito è protetto da hCaptcha e applica le Norme sulla privacy e i Termini di servizio di hCaptcha.