
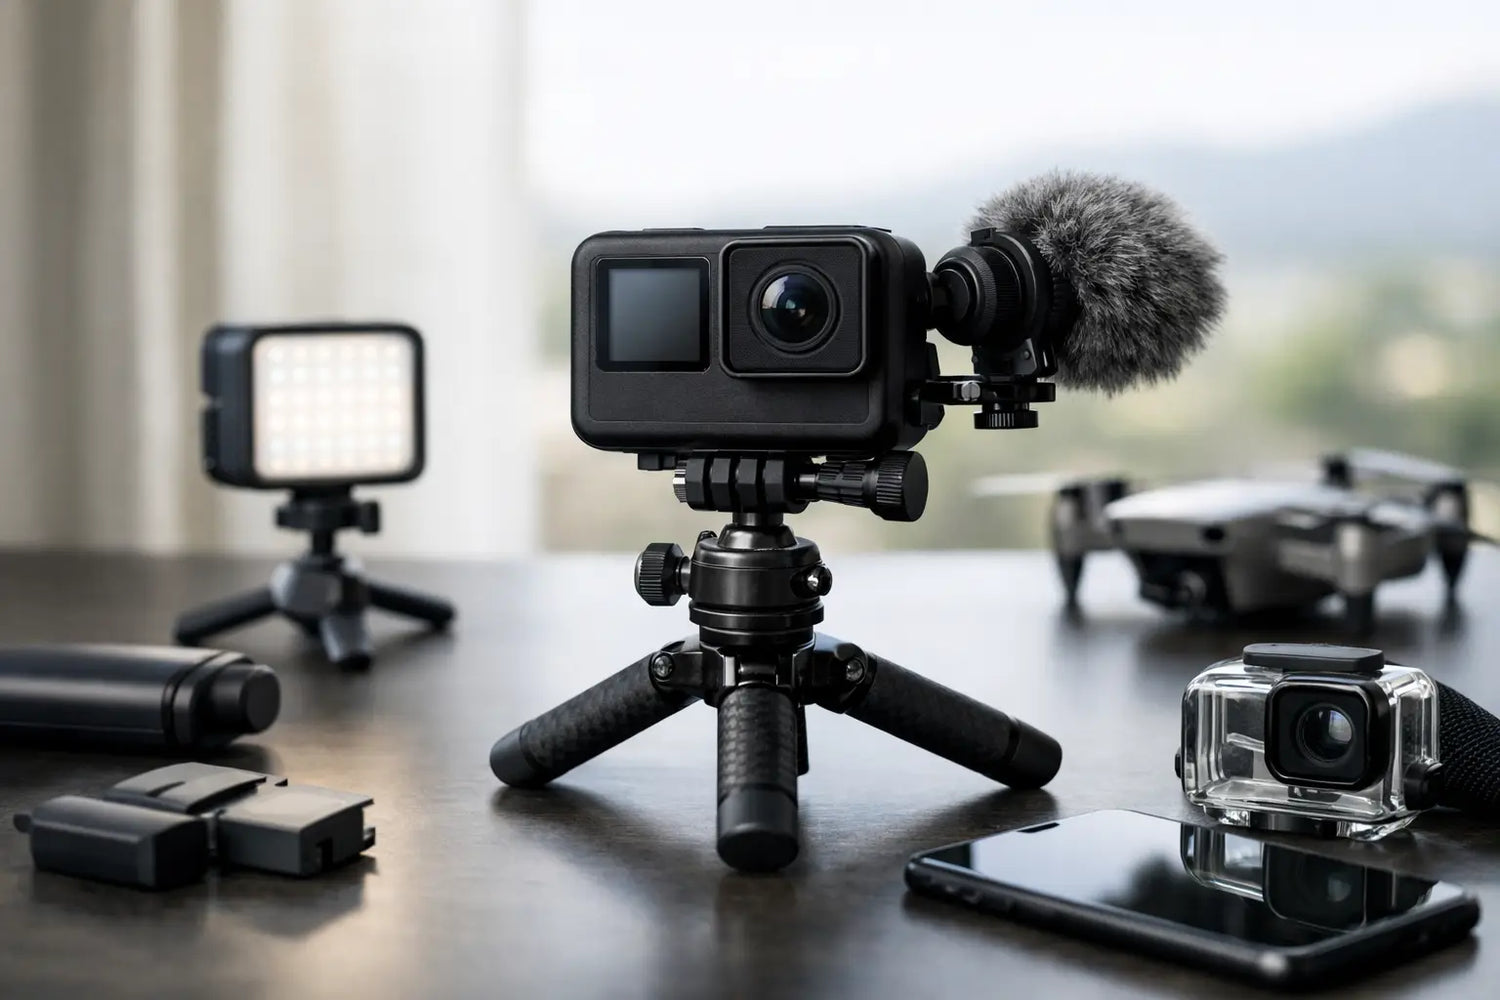
A great clip does not care whether your camera came with a giant price tag. It cares about the moment: the bike trail spray, the first-person gym set, the chaotic road trip stop, the dog sprinting at full speed for absolutely no reason. A smart budget action camera setup puts more of your money into the accessories that actually change your footage, instead of blowing the whole budget on a camera body alone.
The goal is not to recreate a full production studio in a backpack. It is to build a lightweight kit you will genuinely grab before a ride, workout, vacation, or weekend adventure. Start simple, make every piece earn its space, and save the complicated gear for when your content outgrows your current setup.
Start With the Camera, Not the Hype
A budget action camera should be easy to use before it is packed with fancy specs. Look for dependable video stabilization, a wide-angle lens, a battery you can swap or recharge easily, and controls that make sense when your hands are cold, sweaty, or wearing gloves. A camera that takes a few tries to start recording is a camera that misses the shot.
For most casual creators, 4K at 30 frames per second is plenty for travel, outdoor clips, and social posts. If you want smooth slow motion for jumps, tricks, workout form, or fast-moving pets, 1080p at 60 frames per second is often the better trade-off. Higher resolutions sound exciting, but they use more storage, drain batteries faster, and can make editing more demanding.
Do not buy based on resolution alone. Good stabilization and decent color in normal daylight will usually make a bigger difference than chasing the biggest number on the box. Waterproof protection is useful for water sports and rainy days, but a protective housing can still be the more affordable move if your camera is not weather-sealed.
The Budget Action Camera Setup Essentials
Your camera is the center of the kit, but the supporting gear is what keeps a fun recording day from becoming a storage warning, a dead battery notification, and 40 minutes of shaky footage. Build around four basics: reliable storage, backup power, one versatile mount, and a way to keep the lens clean.
Choose a quality, fast microSD card from a known brand and buy enough capacity for the way you shoot. A 128GB card is a comfortable starting point for most people. If you film long rides, full workouts, or travel days, carrying a second card is smarter than gambling on one card being enough. Format it in the camera before a big day out, then check that the camera is actually recording at the resolution you expect.
Battery strategy matters more than having a huge pile of batteries. Two batteries and a compact charging solution work well for short sessions. For travel, a small power bank can keep the camera, phone, and other essentials topped up between locations. Cold weather shortens battery life, so keep a spare close to your body rather than buried in the bottom of a bag.
A microfiber cloth is not glamorous, but it deserves a spot in every kit. A fingerprint, dust spot, or water drop can ruin an otherwise perfect clip. Give the lens a quick wipe before recording, especially after moving the camera in and out of a pocket, case, or backpack.
Pick Mounts for the Shots You Actually Want
This is where your setup starts looking less like random gadget clutter and more like a creator kit. You do not need every mount available. You need the ones that match your hobbies.
For biking, skating, or scooter rides, a handlebar mount delivers a clear point-of-view angle and is easy to adjust. A chest mount gives a more immersive perspective, especially when you want the handlebars, hands, or equipment in frame. Helmet mounts can look dramatic, but they can also create awkward angles if they sit too high or too far to one side. Test the framing at home before the fun part starts.
For workouts, a mini tripod or clamp mount is usually more useful than a wearable mount. Set it low for a powerful lifting angle, or place it at chest height to check your form. A tripod also makes time-lapses, group clips, and hands-free talking videos far easier. For travel and everyday content, a short grip that converts into a tripod gives you the most flexibility for the money.
Before trusting any mount during a fast ride or active session, give it a shake test. Tighten the connection, check the camera latch, and make sure straps sit flat. A mount is only a bargain until your camera takes a surprise flight.
Get Steadier Footage Without Buying More Gear
Even affordable action cameras can produce polished footage when you use them with intention. Start by turning on stabilization, then avoid swinging the camera around like you are searching for a UFO. Slow, purposeful movements look better and are easier to watch.
When walking, hold the camera with both hands when possible and keep your elbows close to your body. For riding, secure the camera firmly and let the mount do the work. If you are filming someone else, take a few steps to frame the shot rather than zooming digitally. Digital zoom can make budget-camera footage look soft fast.
Use short clips instead of recording everything. Capture five to 15 seconds of a cool moment, then stop. Film a wide shot to show the location, a closer shot for action, and one detail shot such as shoes on pedals, weights hitting the rack, or a hand opening a campsite cooler. Three intentional clips beat 25 minutes of footage you never want to edit.
Audio Is the Upgrade Most People Forget
Action cameras are built for action, which means wind, traffic, crowds, and the sound of your hand brushing the housing can take over quickly. If your videos are mostly music-backed highlights, built-in audio may be enough. If you want to talk to the camera, teach a workout, narrate a trip, or capture conversations, audio deserves attention.
First, use the camera in a quieter spot when you can. Stand close to your subject. Shield the microphone from direct wind with your body or position the camera behind a small barrier. Those free fixes can help more than expected.
If your camera supports an external microphone, add one only when talking content becomes a regular thing. Confirm compatibility before buying, since some cameras need an adapter. A basic external mic can improve voice clarity, but it also adds cables and setup time. For high-energy rides and quick clips, simple built-in sound plus music is often the less stressful choice.
Make Your Budget Setup Easier to Carry
The best setup is the one that leaves the house with you. Use a small zip case or compact pouch with labeled sections for batteries, cards, mounts, and lens cloths. Put the camera in the same place every time. Future you will be very grateful when the sunset is happening and you are not digging through snack wrappers for a charging cable.
A practical grab-and-go kit can include your camera, a charged spare battery, a fast microSD card, a short grip tripod, one activity-specific mount, and a cloth. That is enough for most days. Add gear only after you know what keeps limiting you. If you always run out of power, upgrade power. If your bike clips are too shaky, upgrade the mount. If viewers cannot hear you, focus on audio.
This approach keeps your spending honest. A flashy accessory bundle can feel like a win, but it is only useful if the pieces fit your plans. Think of your gear as a tiny team: every item should help you capture, protect, power, or carry the camera.
Shoot for the Edit You Want
Before you press record, decide what the finished video is supposed to feel like. A fast ride montage needs energetic angles and short clips. A travel recap benefits from location shots, food details, faces, and a few calm scenes between the action. A workout video needs clear framing that lets viewers see the movement.
Keep your lens level unless you want a deliberately tilted look. Record in landscape for wider YouTube-style videos and in vertical for short-form social clips. If you want both, shoot the key moment twice when it is safe and practical. Trying to crop every horizontal clip into a vertical post later can turn a great shot into a close-up of somebody's elbow.
Your budget action camera setup does not need to be huge to be exciting. Charge it, mount it, wipe the lens, and take it somewhere worth remembering. The best upgrade is often not another accessory. It is being ready when the story finally happens.

Laisser un commentaire
Ce site est protégé par hCaptcha, et la Politique de confidentialité et les Conditions de service de hCaptcha s’appliquent.