
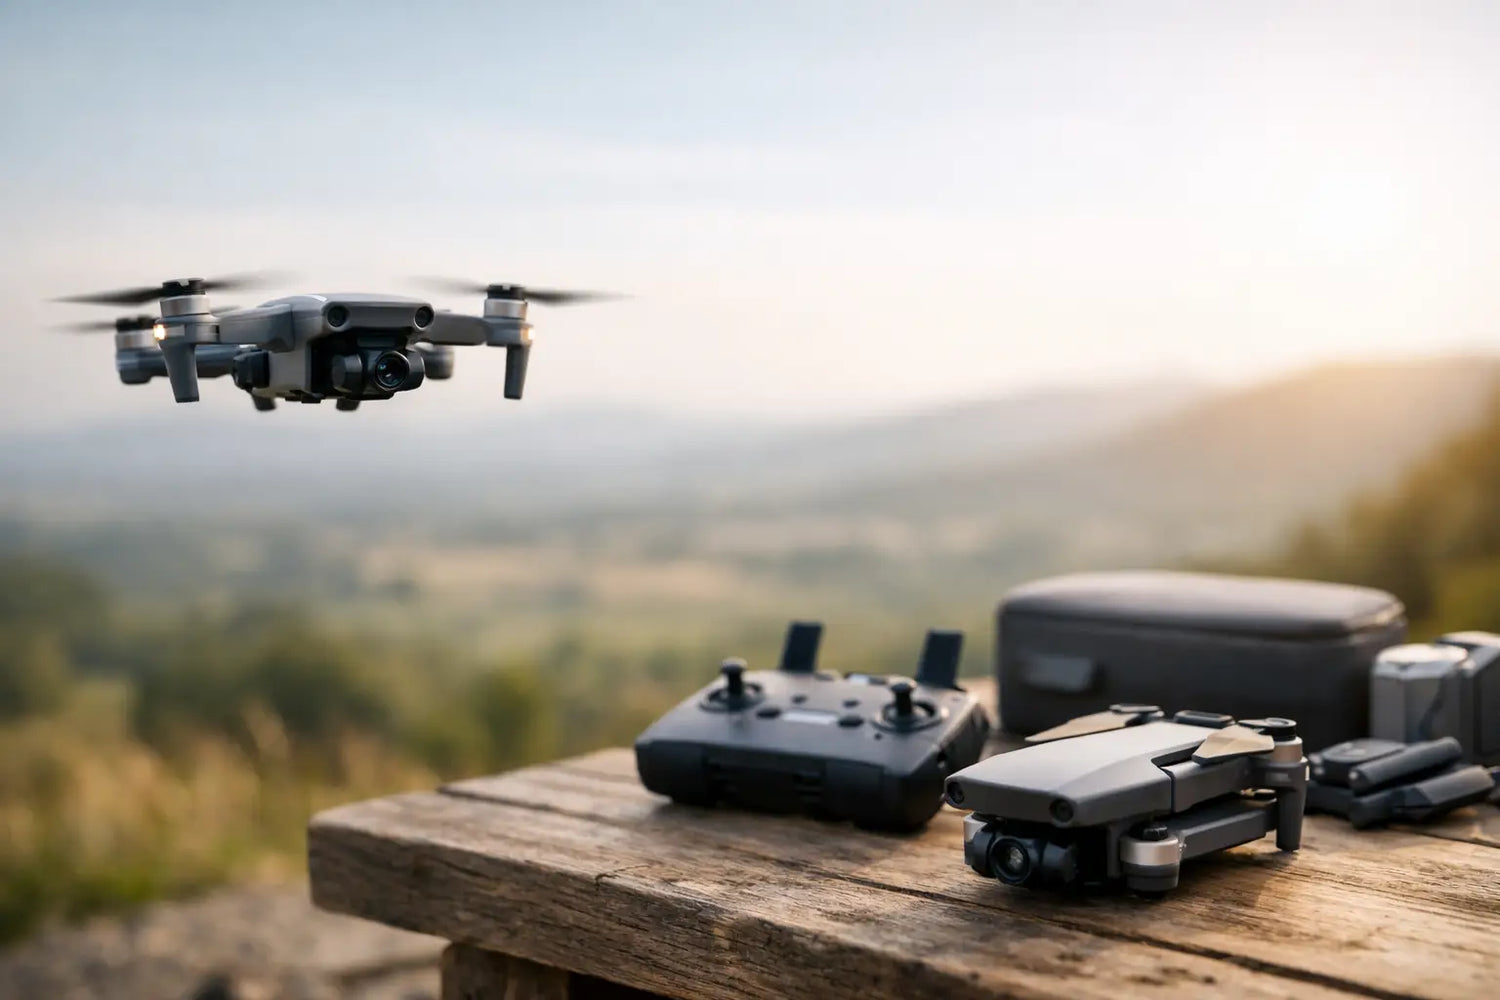
You do not need a Hollywood-sized budget to get that first overhead shot of the beach, backyard, road trip, or sunset. But you do need a drone that will not turn your first flight into a frantic game of "where did it go?" If you searched for a drone camera review beginner guide, start here: the best first drone is usually not the one with the biggest camera number on the box. It is the one that helps you fly confidently, return safely, and capture footage you will actually want to post.
What beginners should expect from a camera drone
A beginner-friendly camera drone should make the learning curve feel exciting, not punishing. That means stable hovering, simple controls, a clear live view on your phone or controller, and a reliable return-to-home feature. A sharp camera is great, obviously. A drone that drifts in the wind, loses connection quickly, or gives you six minutes of flight time is less great - especially when it is headed toward a tree.
Budget models can be a fun entry point for indoor flying, casual backyard practice, and learning basic controls. Their trade-off is usually image quality, wind resistance, flight range, battery life, and GPS accuracy. Step up to a drone with GPS, a stabilized gimbal, and replaceable batteries, and you will usually get footage that looks noticeably smoother and a flying experience that feels far less stressful.
For most new pilots, the sweet spot is a compact drone with a stabilized camera, a flight time of around 20 minutes or more per battery, and a beginner or cinematic flight mode. That combination gives you enough time to practice without making every takeoff feel like a countdown.
Drone camera review for beginner buyers: features that matter
Specs can look like alphabet soup when you are shopping. Focus on the features that affect your actual first-week experience.
Camera resolution is not the whole picture
A 4K camera sounds like the automatic winner, and it can be a smart choice if you want crisp video for social posts, travel clips, or future editing. Still, resolution alone does not guarantee good footage. A 1080p drone with stable flight and decent lighting can look better than shaky 4K video bouncing around in a gust of wind.
Look for a camera mounted on a mechanical gimbal if smooth video is a priority. A two- or three-axis gimbal physically steadies the camera as the drone moves. Electronic stabilization can help on lower-priced drones, but it often crops the image and cannot fully fix aggressive shaking.
For photos, a drone with adjustable exposure settings gives you more creative room once you are comfortable. For a true beginner, though, good automatic settings are more useful than a long menu of manual controls you will not touch yet.
GPS and return-to-home are confidence boosters
GPS helps a drone hold its position in the air instead of wandering when you release the sticks. It also supports return-to-home, which sends the drone back toward its takeoff point when the signal drops, the battery gets low, or you activate the command.
That does not mean return-to-home is magic. Set the return altitude high enough to clear nearby trees, light poles, and buildings before you fly. Also confirm that the drone has updated its home point after it connects to GPS. These tiny pre-flight habits can save a very expensive bad day.
Battery count matters more than one big promise
A listing may claim 25 or 30 minutes of flight time, but real-world time drops with wind, fast flying, cold weather, and cautious landing reserves. Plan on less than the advertised maximum.
For beginners, a bundle with two or three batteries is often a better value than buying a slightly fancier drone with only one battery. More batteries mean more practice, more camera angles, and less waiting around while your new gadget charges. It is the difference between filming one quick pass over the park and having enough power to try that shot again when the first attempt is mostly sky.
Size changes where and when you can fly
Mini drones are easy to pack, easier to carry on trips, and generally less intimidating to fly. Their downside is wind. A lightweight drone can get pushed around quickly, so calm mornings and late afternoons are often the best time to practice.
Larger drones tend to handle wind better and may carry stronger cameras, but they take up more space and can feel more serious in public settings. No matter the size, check current local rules before flying. Keep the drone in sight, stay away from airports and restricted areas, and respect other people’s privacy. Cool footage is never worth creating a safety problem.
How to judge a beginner drone beyond the product page
Product photos make almost every drone look like it belongs on a movie set. A better review looks at what happens between takeoff and landing.
First, consider setup. Can a new user pair the controller, connect the app, calibrate the drone, and understand the battery indicators without a tutorial marathon? A little setup is normal. Confusing setup is a warning sign.
Next, pay attention to control response. Beginner modes should reduce speed and soften turns, making it easier to learn smooth movement. If a drone jumps hard at every input, your footage will feel jerky and your confidence will disappear fast.
Then look at video transmission. A clear, low-lag live feed helps you frame shots and spot obstacles. You do not need to fly far away as a beginner, but you do need a connection you can trust while you learn orientation and camera angles.
Finally, read user feedback for patterns rather than one-off complaints. Repeated mentions of weak batteries, app crashes, inaccurate return-to-home, or missing replacement parts deserve attention. On the flip side, recurring comments about easy first flights, stable hovering, and helpful support are meaningful green flags.
A smart first-flight test before you chase cinematic shots
Your first flight should be boring on purpose. Find an open outdoor area, avoid crowds, and choose a day with light wind. Charge everything, inspect the propellers, update the app or firmware if prompted, and make sure your phone has enough battery for the live view.
Lift off only a few feet and let the drone hover. Test forward, back, left, right, up, and down. Practice turning slowly, then practice bringing the drone back to you without relying on the camera feed alone. The drone may look different when it faces you, and that reversed perspective catches nearly everyone at least once.
Once hovering feels normal, try simple camera moves: a slow rise, a gentle pullback, or a smooth sideways reveal. Move one control at a time. The best beginner footage usually comes from calm, deliberate inputs, not from trying to recreate an action movie on flight number one.
Which beginner drone is right for you?
If your goal is casual fun, short social clips, and learning the basics, an affordable foldable drone with altitude hold and a 1080p camera can be enough. Keep expectations realistic: it works best in calm conditions and good daylight.
If you want travel footage, polished videos, and a drone you can grow into, prioritize GPS, a gimbal-stabilized 4K camera, and extra batteries. It costs more upfront, but it can prevent the common upgrade cycle of buying a super-cheap model, outgrowing it in a weekend, then shopping again.
If your main goal is learning to fly without worrying about every bump, a small practice drone may be the move. Think of it as driver’s ed before the road trip. You can build stick skills, learn how prop wash and wind feel, and decide whether aerial photography is your next favorite hobby.
At Timo Market, the fun is finding gear that adds something new to your everyday routine, not buying a complicated gadget that sits in a drawer. Pick the drone that matches the shots you want to make now, leave room for a few extra batteries, and give yourself permission to start small. Your first great aerial clip will probably happen right after you stop trying to make it perfect.

Leave a comment
This site is protected by hCaptcha and the hCaptcha Privacy Policy and Terms of Service apply.